Part 3 - Embellishment Set 2 for "Old World Charm" digital collection by EKDuncan
 |
| EKDuncan "Old World Charm" digital embellishments sheet |
I hope you are following along with my posts about the digital scrapbooking items I created in Photoshop which I have named my "Old World Charm" digital collection.
So far I have posted several digital scrapbook page layouts showing how I used some of the supplies I've created and now I'm in the process of posting those digital items for easy viewing and access. So check out my other May 2011 postings in case you have missed any of the fun stuff that is part of the "Old World Charm" collection.
Today I'd like to share the additional embellishments I created to coordinate with the other "Old World Charm" items you have seen on my previous posts.
Here are the items individually
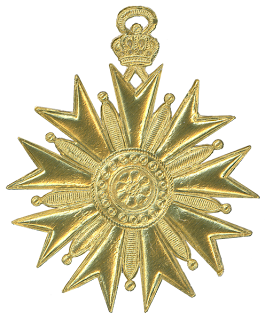 |
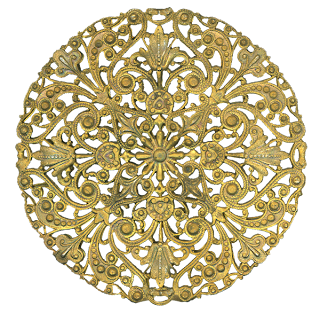
Vintage Dresden vintage Dresden gold foil paper badge
from my personal collection |
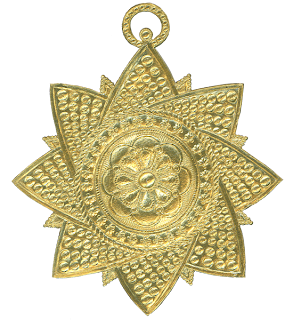 |
A second vintage Dresden gold foil paper badge
from my personal collection |
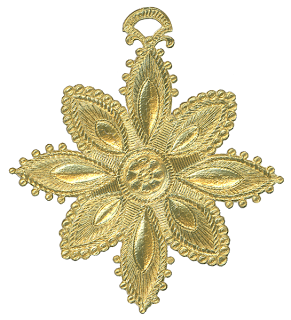 |
A third vintage Dresden gold foil paper badge
from my personal collection |
 |
| Vintage engraved frame from my personal collection |
 |
| Vintage Deco frame from my personal collection |
 |
Engraved side strip from one
of my vintage photo frames |
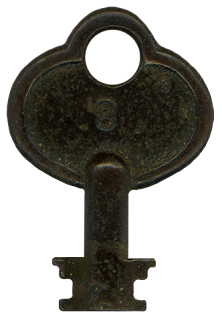 |
| Vintage Key from my personal collection |
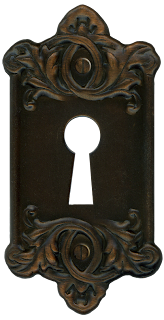 |
| Vintage key plate from my personal collection |
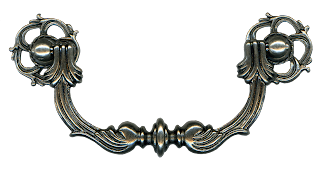 |
| engraved drawer pull from my personal collection |
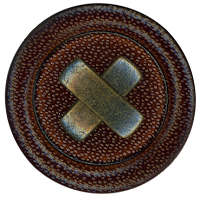 |
| Retro leather button - a recent purchase |
 |
Amazing vintage brass ornament that is a topper on a lamp finial
I recently purchased at an antique store in NC |
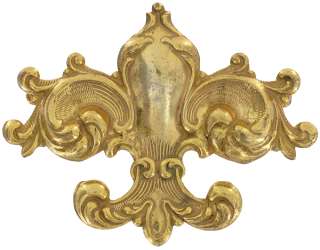 |
| Vintage brass Fleur-de-lis |
 |
| A digital frame I enhanced in Photoshop |
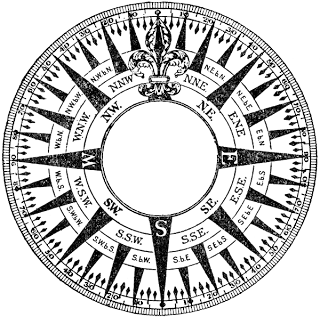 |
Image of a compass rose that I used in my collection
I altered it in Photoshop to suite my needs in this collection
Part of the background is transparent and part is white since this worked best
in the way I needed to use the image This way I don't loose some of the important
images on the compass when I place it on a busy background and then I can add a
color overlay on top to change the white areas to any color I need |
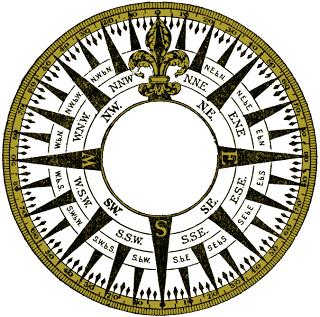 |
I added a gold colored clipping mask layer set to blending mode "Multiply"
over the original image in Photoshop to create this version |
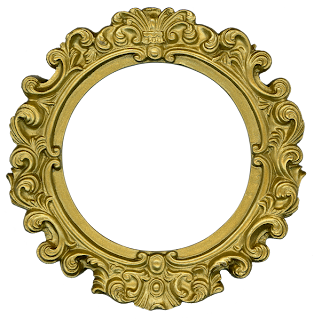 |
| A fun gold frame from my personal collection - purchased for $1 |
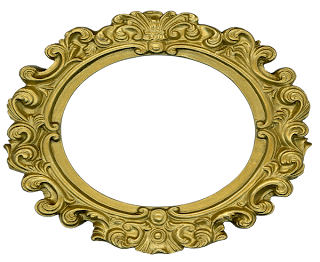 |
The same frame as above but altered in Photoshop to
be a sideways oval for wide pictures or images |
 |
The same round frame from above but altered in Photoshop to be
a longer oval for taller pictures or images; I also changed
the color from gold to a more antique gold or "old" gold look. |
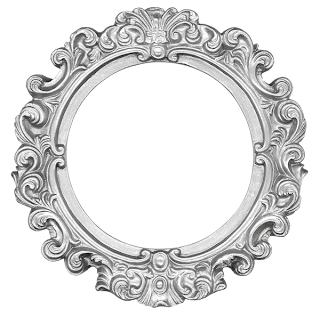 |
| I changed the gold version of this frame to silver in Photoshop |
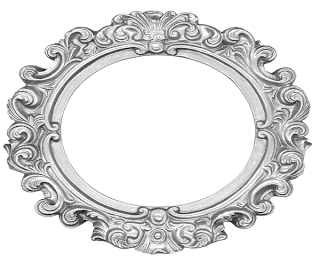 |
| I changed the Gold version of this frame to silver in Photoshop |
 |
A great two-tome silver and gold frame from my personal collection
FYI there is a reverse gold and silver version of this on embellishment sheet 1 |
 |
| I altered the above frame in Photoshop to make it an oval |
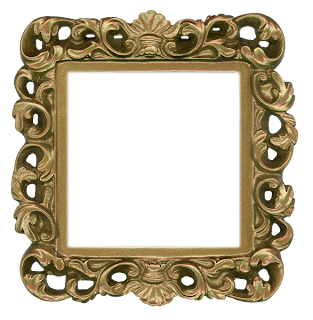 |
A cute inexpensive frame that was originally Christmas green
I changed to gold in Photoshop |
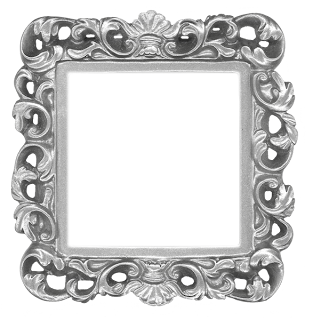 |
| I changed the above frame to silver in Photoshop |
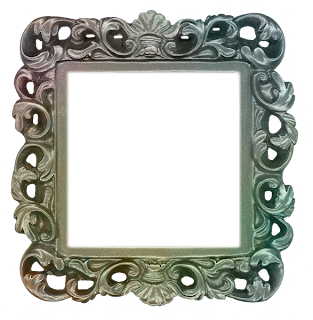 |
I gave the same frame a whole new look by adding a
funky color layer over it in Photoshop |
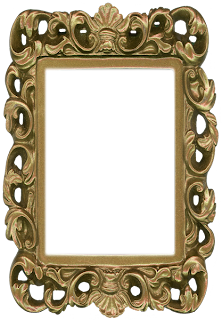 |
| I altered the square into a rectangle in Photoshop |
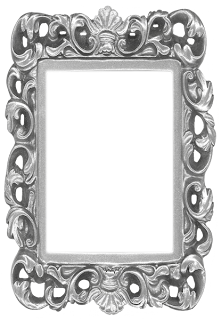 |
| And here I changed it to silver |
You probably noticed that many of the frames in my collection have a similar look; this is because I like to alter frames in Photoshop so they coordinate well. Changing a round frame to an oval for instance gives me a greater amount of diversity in being able to frame and image or photo on a digital layout and having it work regardless if the image is taller or wider than the original frame would have allowed for. I also like to change the colors of frames since I might need a silver one instead of gold or a funky finish to blend with a page I'm working on. The possibilities of what can be done with a frame are endless thanks to Photoshop and other digital tools that are available.
Vintage Stamps from Spain
A tiny part of my personal stamp collection
These were saved by my Mom from letters her family wrote and mailed years ago.
(for me the truly personalized my "Old World Charm" digital collection)
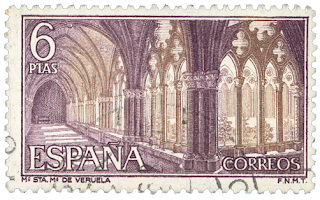 |
Spanish stamp depicting the
Royal Monastery of Santa Maria de Veruela in Zaragoza |
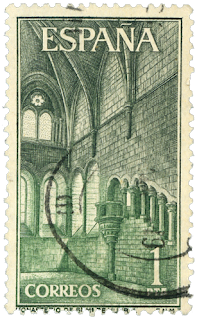 |
| A Spanish stamp showing Gothic Architecture |
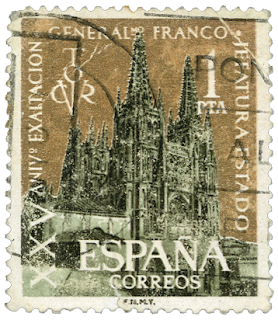 |
| Spanish stamp celebrating Franco's rule in Spain |
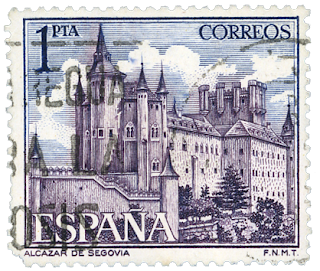 |
| Spanish stamp showing the Segovia Castle |
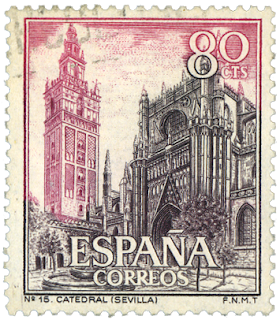 |
| Spanish stamp showing the Cathedral at Sevilla |
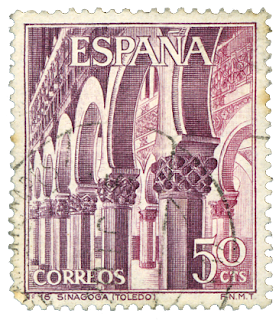 |
| Spanish stamp depicting Morrish architecture in Toledo |
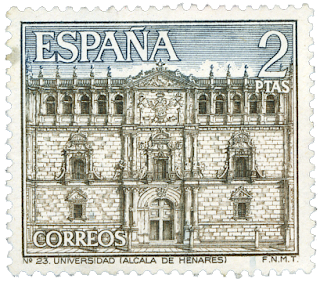 |
| Spanish stamp showing a University just north of Madrid |
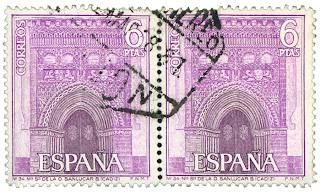 |
Spanish stamp showing the grand doorway of a church - Cadiz
called Nustra senora de la o Sanlucar |
 |
Spanish stamp showing
the Medieval castle in Loarre |
 |
Stamp depicting the Bullfights
"Corrida de Toros" |
I hope you enjoyed the images from my
"Old World Charm" digital embellishment Set 2
and that you come back again to see the next set in the ongoing series
of digital scrapbooking items in the collection.
The images in this collection are sized for digital scrapbooking.
If you like these items or use them please leave a comment or link back
to my blog so others can join in the fun. Many Thanks!
Remember to check back for the next installment of my
"Old World Charm" digital collection.


Thank you so much for posting these. I'm in the process of "thinking through" a digital scrapbook for my daughter for when she gets older. Your artwork is wonderful and thank you for sharing it. I'm new to all this so it's helped me a lot. God bless you.
ReplyDeleteI'm so glad you will be able to use some of the artwork for your own digital scrapping. I love browsing the web to see what's out there for me to use and am glad I was able to give something back with my creation of this series.
ReplyDeleteEnjoy it,
Evelyn
Gorgeous elements. Thanks so much!
ReplyDeleteThanks so much rkramadh - you made my day!
DeleteVisit my deviatart.com account to see more images by me - http://eveyd.deviantart.com/gallery/
I really like these and would love to use some for a friends christmas card, but am not sure how to download them. Could you please help me? I would like to do it really soon, like today! :)
ReplyDeleteHey bjklassen - I'm sure you will create a fun and exciting card for your friend. The images need to be downloaded one at a time for you to get the best quality.
DeleteFirst select an image you want by placing your mouse over an image and click using the left mouse button. This will cause the image to pop up in another screen at top resolution. (tip - Don't try and download "right click" an image straight off the blog pages themselves or you will be saving a low quality/resolution preview image.)
Now once you are in the new screen that shows the full view of the image you want, move your mouse cursor on it and right click - using the right mouse button and select "Save image As" from the menu selection that pops up. Save the image on your computer in a folded or place where you can find it again later - wink.
Then select the next image you want via the choice selection bar you see at the bottom of the screen. Left mouse click to bring up the image full screen on your computer, place the mouse cursor over that image "right" button mouse click and save to your computer...
Hope this helps and have fun downloading and using the images for your crafting projects.
Enjoy!
Evelyn