
Rainbow Flames #1
This was my first alteration of the original painted background.
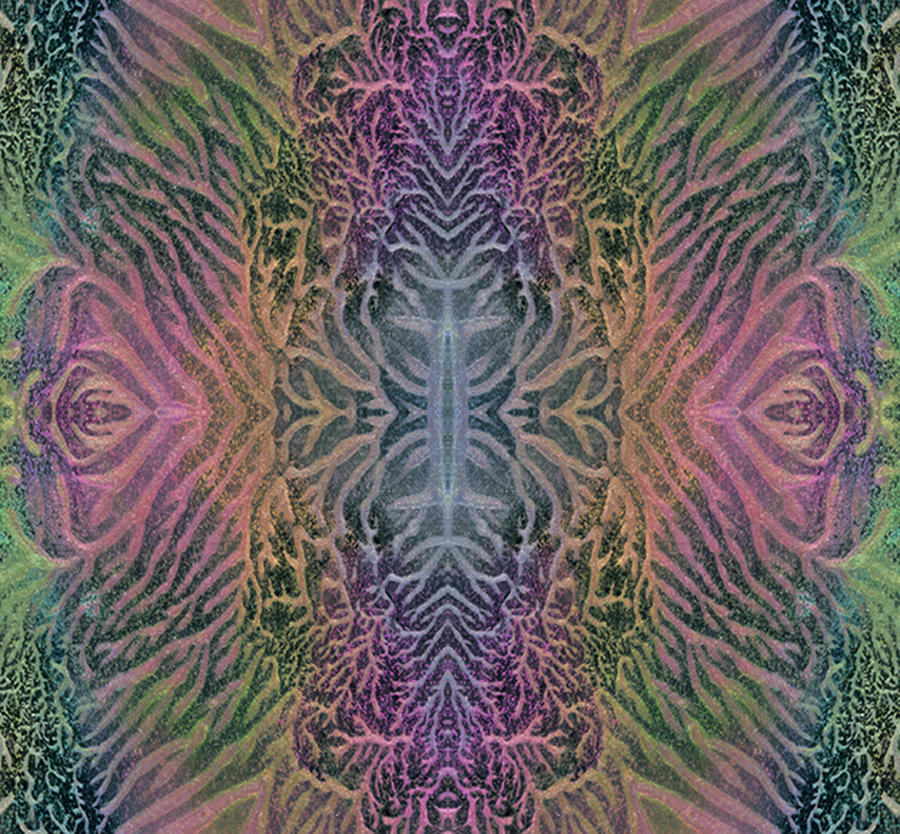
I took a section of the painted piece created a duplicate, flipped it horizontally to
created a mirror image and then merge the two to create a new digital background.
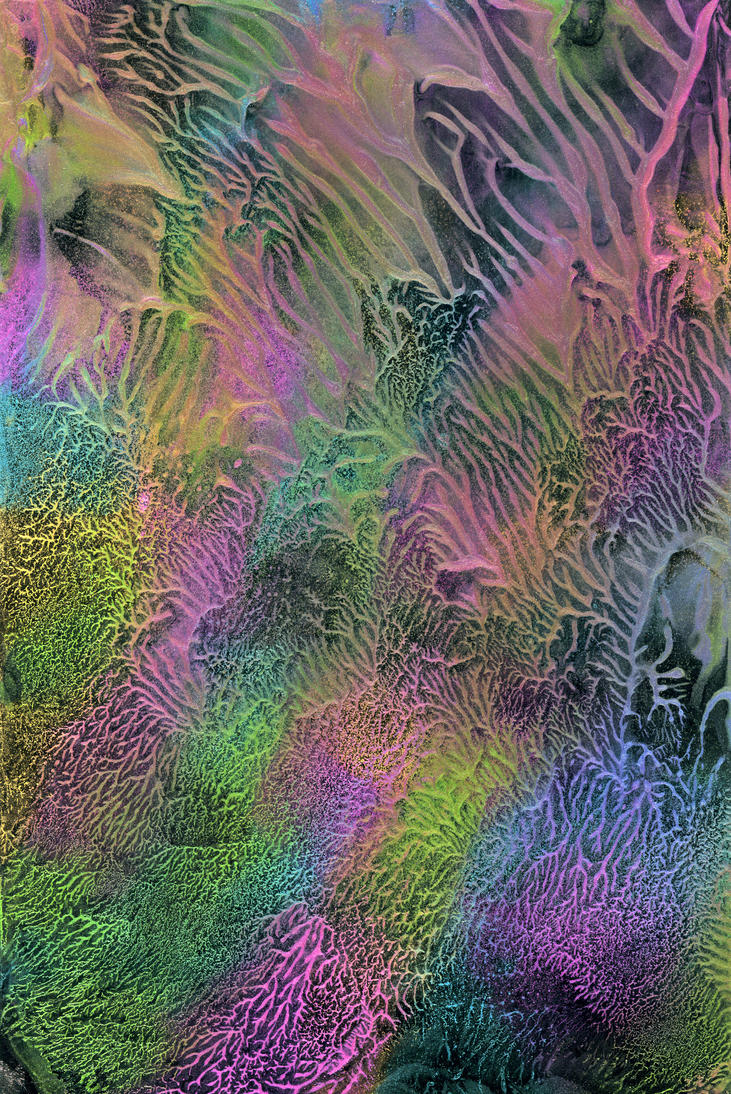
This was the original painted background I started with.
Click HERE to see the blog post showing how this was created,
with Faskolor paint and glossy black cardstock.
with Faskolor paint and glossy black cardstock.
*****
I'm one of those people that like to know how something was done and
wanted to show the steps I took to create my project.
(for those who are like me and ask - "how did she do that?"
Please note - there are many ways to do things in Photoshop.
This is just the way I got to my end result.

I located a section I wanted to use and cropped it out.

I made the section a bit narrower digitally by selecting
Edit - Free Transform
then pushing the long side in till I had the look I wanted.

I created a duplicate layer to make the left side of the project.
This new layer was "flipped" to make a mirror image of the original
via Edit - Transform - Flip Horizontal
Then the two halves were moved together and merged.

To mere the two layers into a new image:
I chose to hold the shift key and highlight my two layers,
then I clicked the right mouse button and choose Merge Layers.
Like most thing in Photoshop there are several ways to do one function.
Here are two other examples of how you can Merge
You can also highlight the layers and hit Ctrl +E if you like short cut commands
or you can use the tool bar and select Layer - Merge Layers.
choices - choices - so many choices.
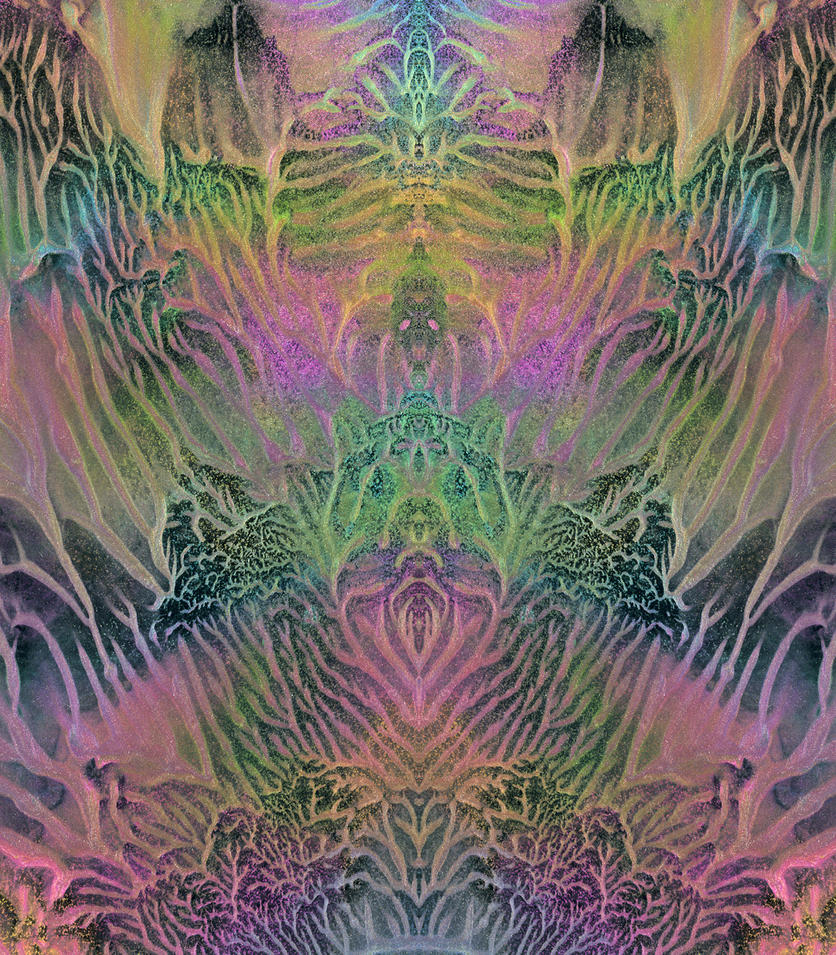
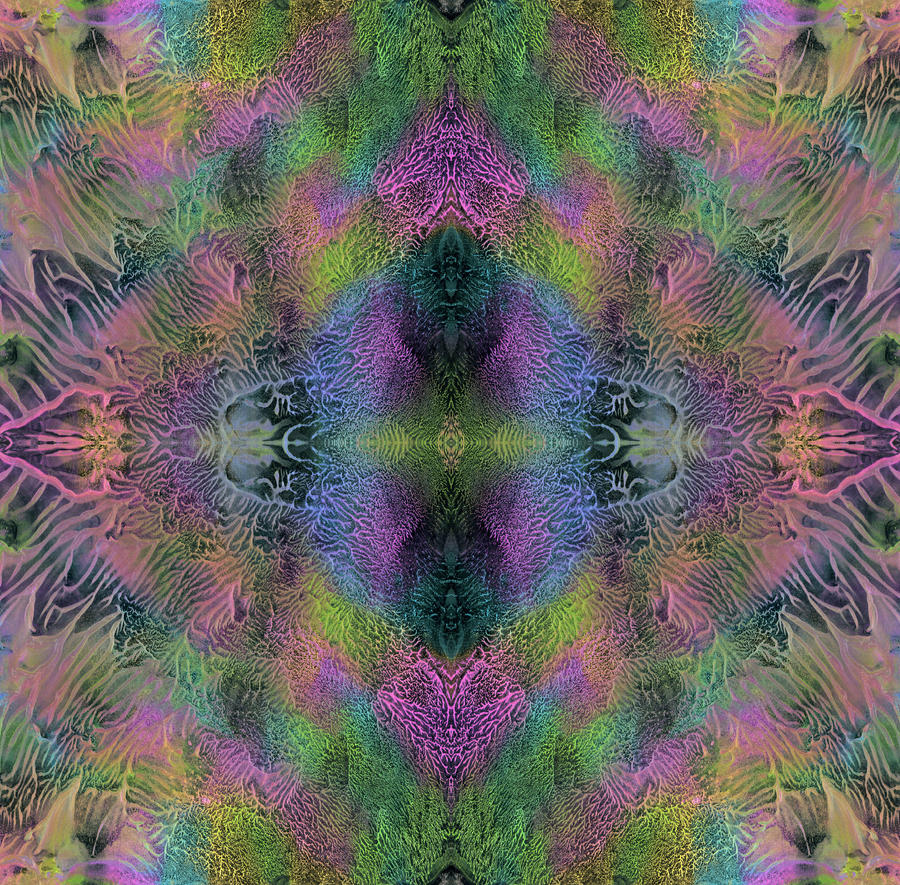
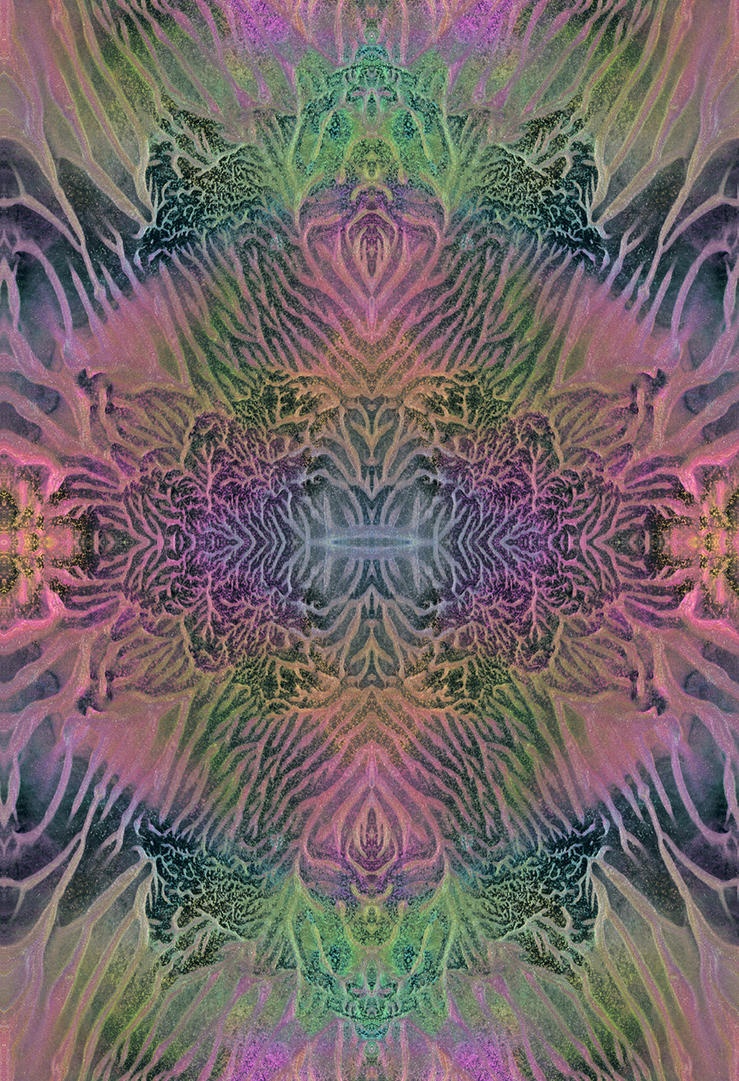
This was the final result after the merge.
The mirror effect created a really cool background image
that to me look like flower blossoms, leaves, birds and flames.
By repeating this same process of taking an original image, duplicating it, then flipping
it horizontally or vertically was able to create a large selection of backgrounds.
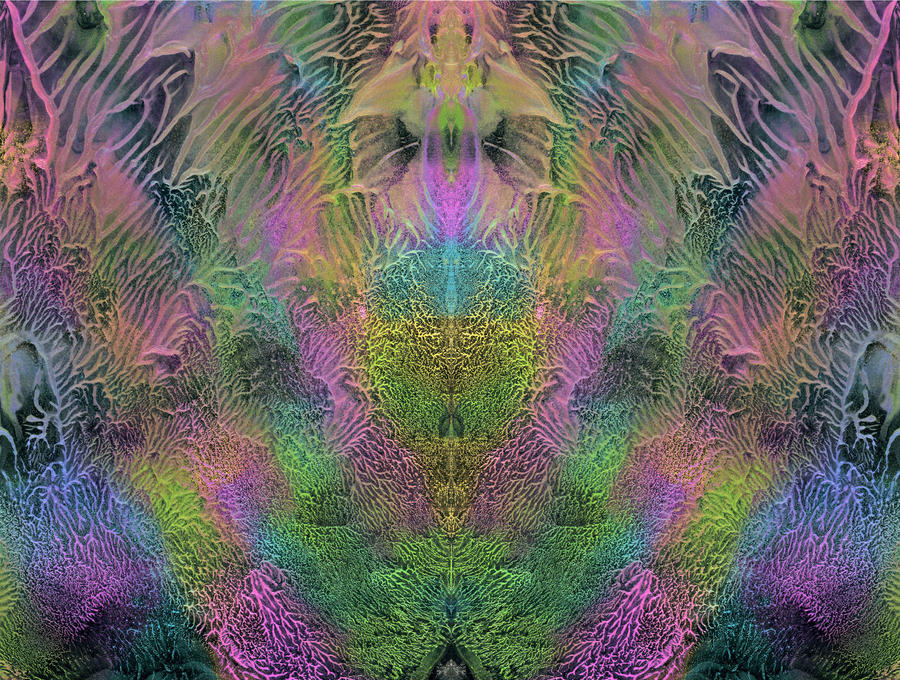
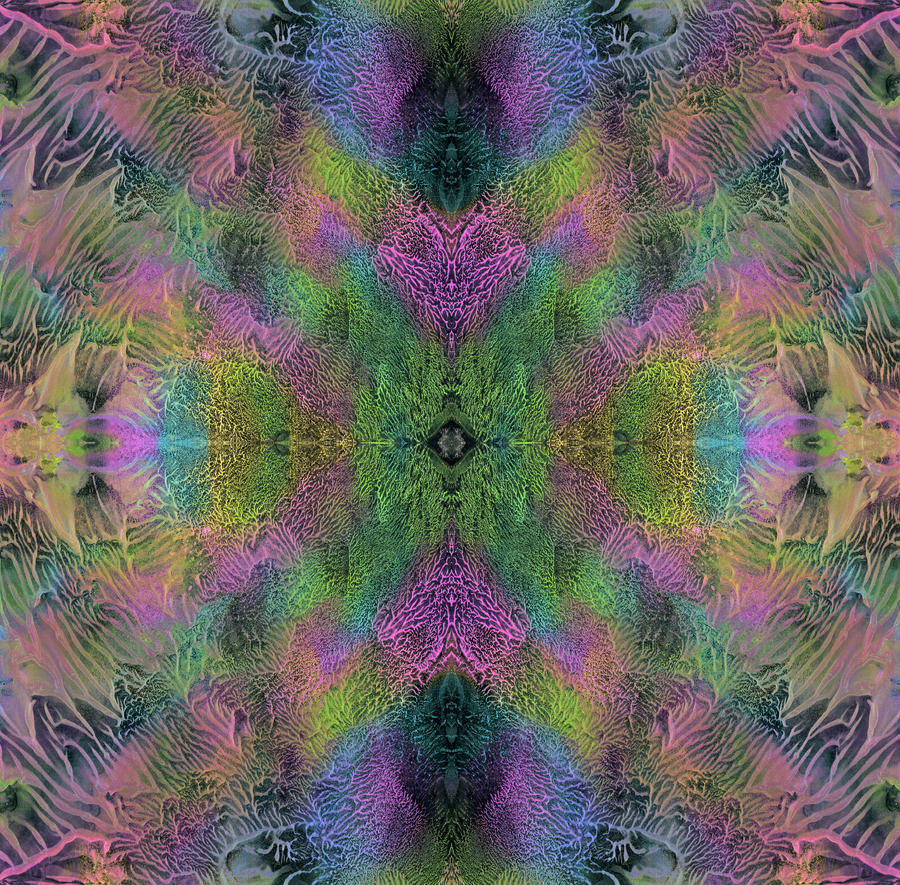
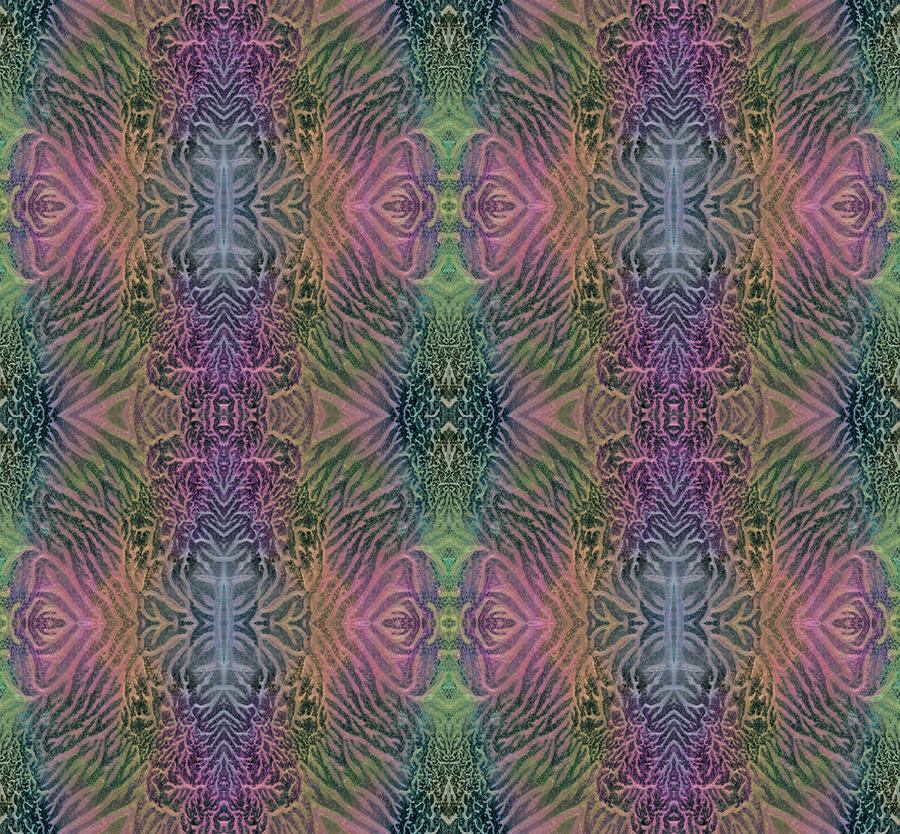
I took the new merged image from above and did just that to create this more complex image.

There are 6 layers of my New Image in this wild design.
And here is how I did this one.

I created the center of the piece by adding a duplicate layer
of my image and this time flipping it vertically.
of my image and this time flipping it vertically.
The two were then merged to form the center panel of the intricate pattern.

3 large panels or 6 half panels were used to make the full background.
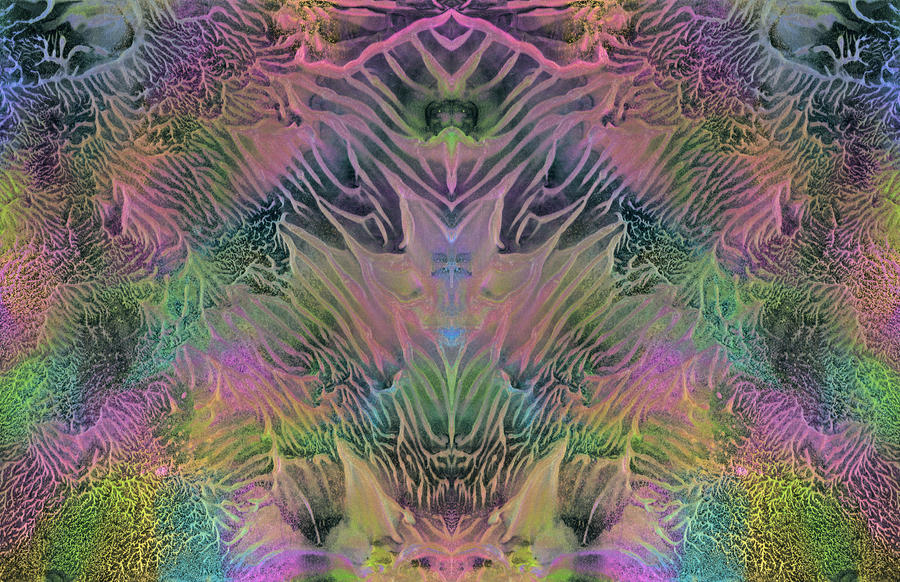
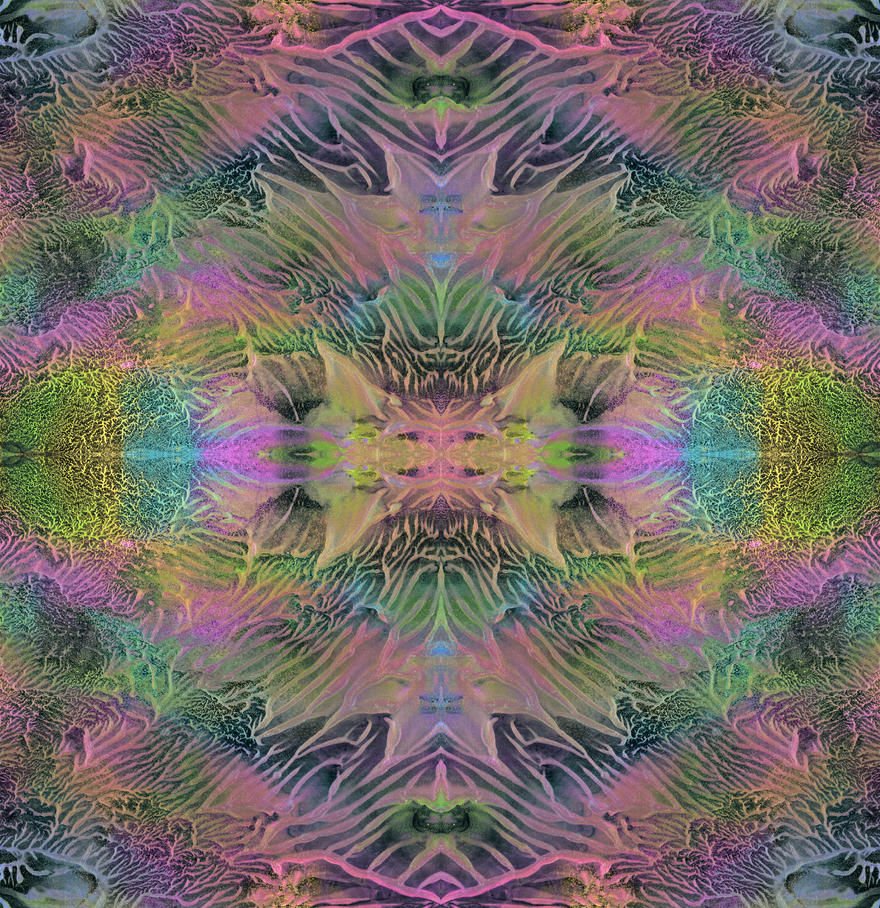
By cropping, duplicating, flipping, merging, pulling and squashing
the assortment of creations is endless.
I started playing around with other sections of the original painted Faskolor
piece and came up with over 20 variations of patterns before I called it quits.
I just could not help but see what the next variation would look like.
These backgrounds were created to share so I posted them to my
EveyD deviantART account.
Use the above link, then select gallery
for access to downloading the larger 300 dpi files.
for access to downloading the larger 300 dpi files.
*****
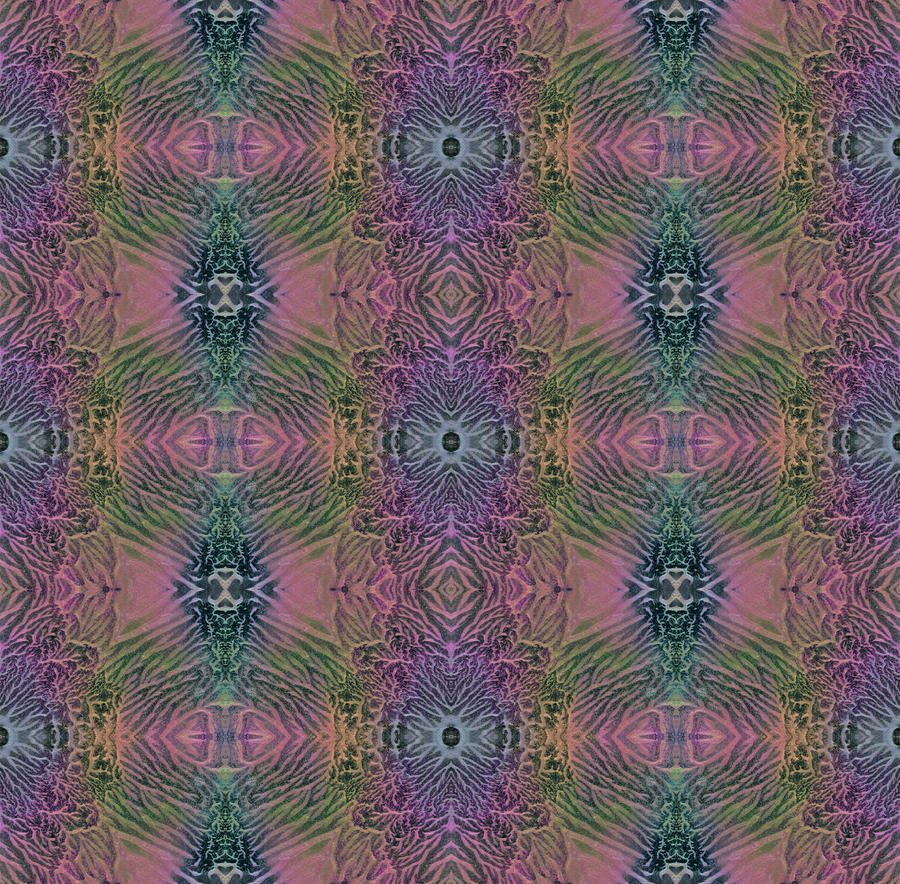
Here are what the other variations look like.
Enjoy!

EKD Rainbow Flames #2
EKD Rainbow Flames #3
EKD Rainbow Flames #4
EKD Rainbow Flames #5
EKD Rainbow Flames #6
EKD Rainbow Flames #7

EKD Rainbow Flames #8

EKD Rainbow Flames #9

EKD Rainbow Flames #10

EKD Rainbow Flames #11

EKD Rainbow Flames #12

EKD Rainbow Flames #13

EKD Rainbow Flames #14
EKD Rainbow Flames #15
EKD Rainbow Flames #16
(this is the one shown in the Tutorial)

EKD Rainbow Flames #17
EKD Rainbow Flames #18

EKD Rainbow Flames #19
Rainbow Flames #20
EKD Rainbow Flames #21
And for a change of pace here are a few using the original Faskolor
background with some Animal Print transparency overlays.
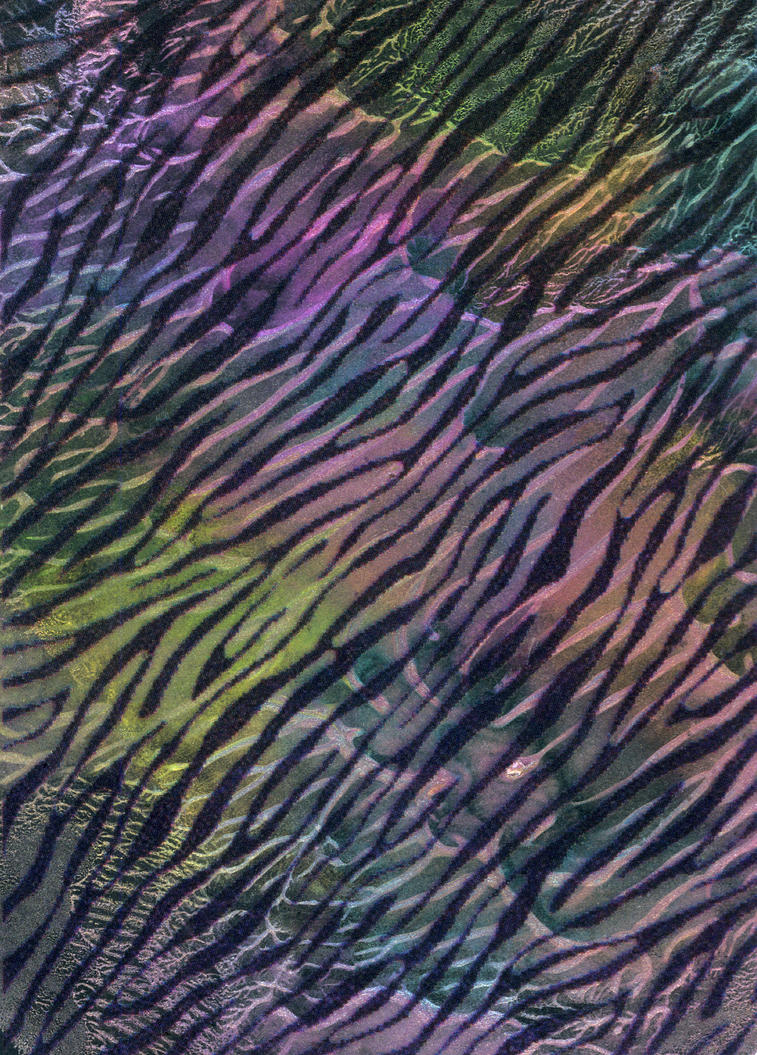
EKD Rainbow Tiger Print
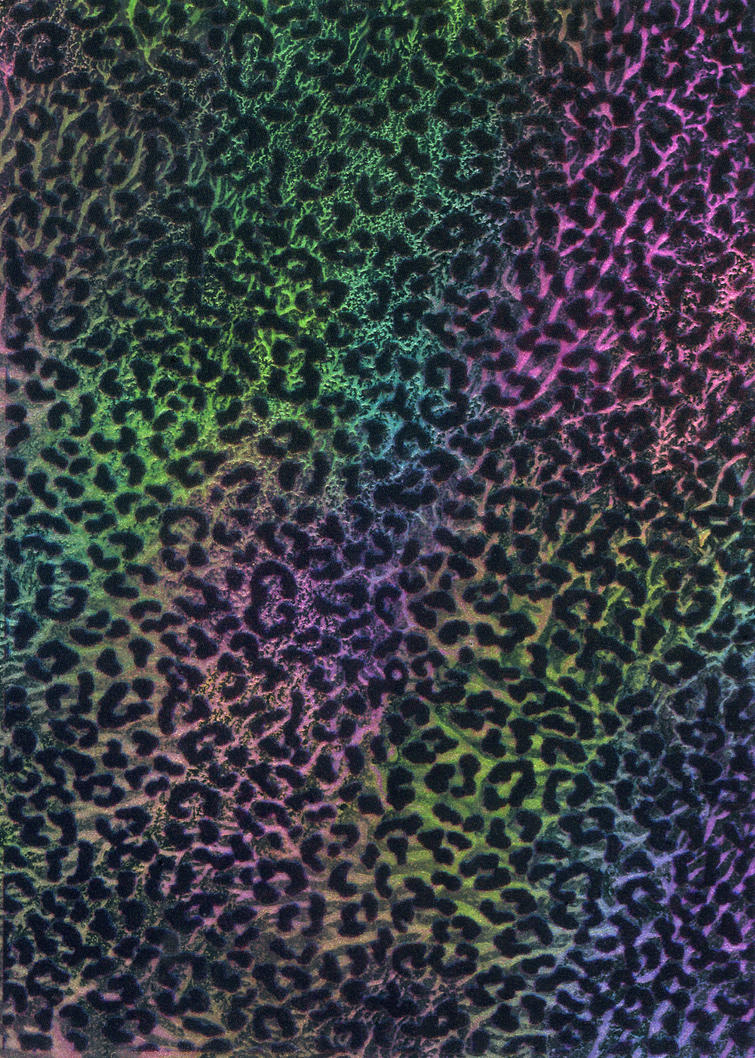
EKD Rainbow Leopard #1
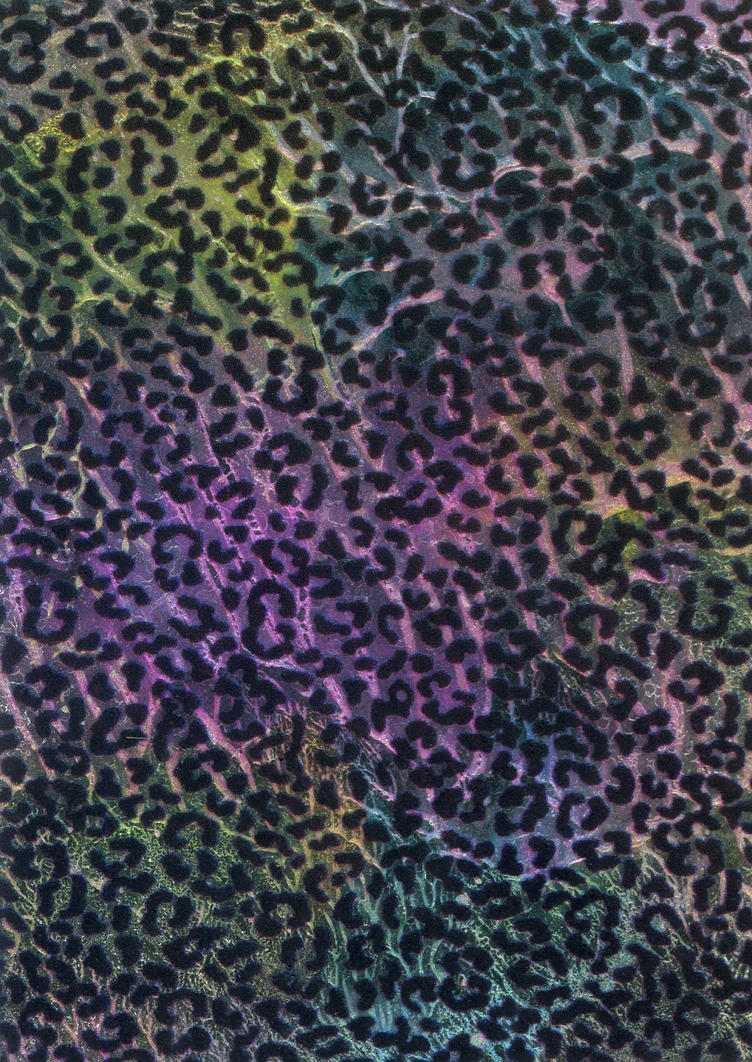
EKD Rainbow Leopard #2
I hope you give this a try and create some fun pieces of your own.
Thanks for dropping in to see what road my muse has taken me down this time.
Grins and Giggles,
Evelyn
Evelyn
No comments:
Post a Comment